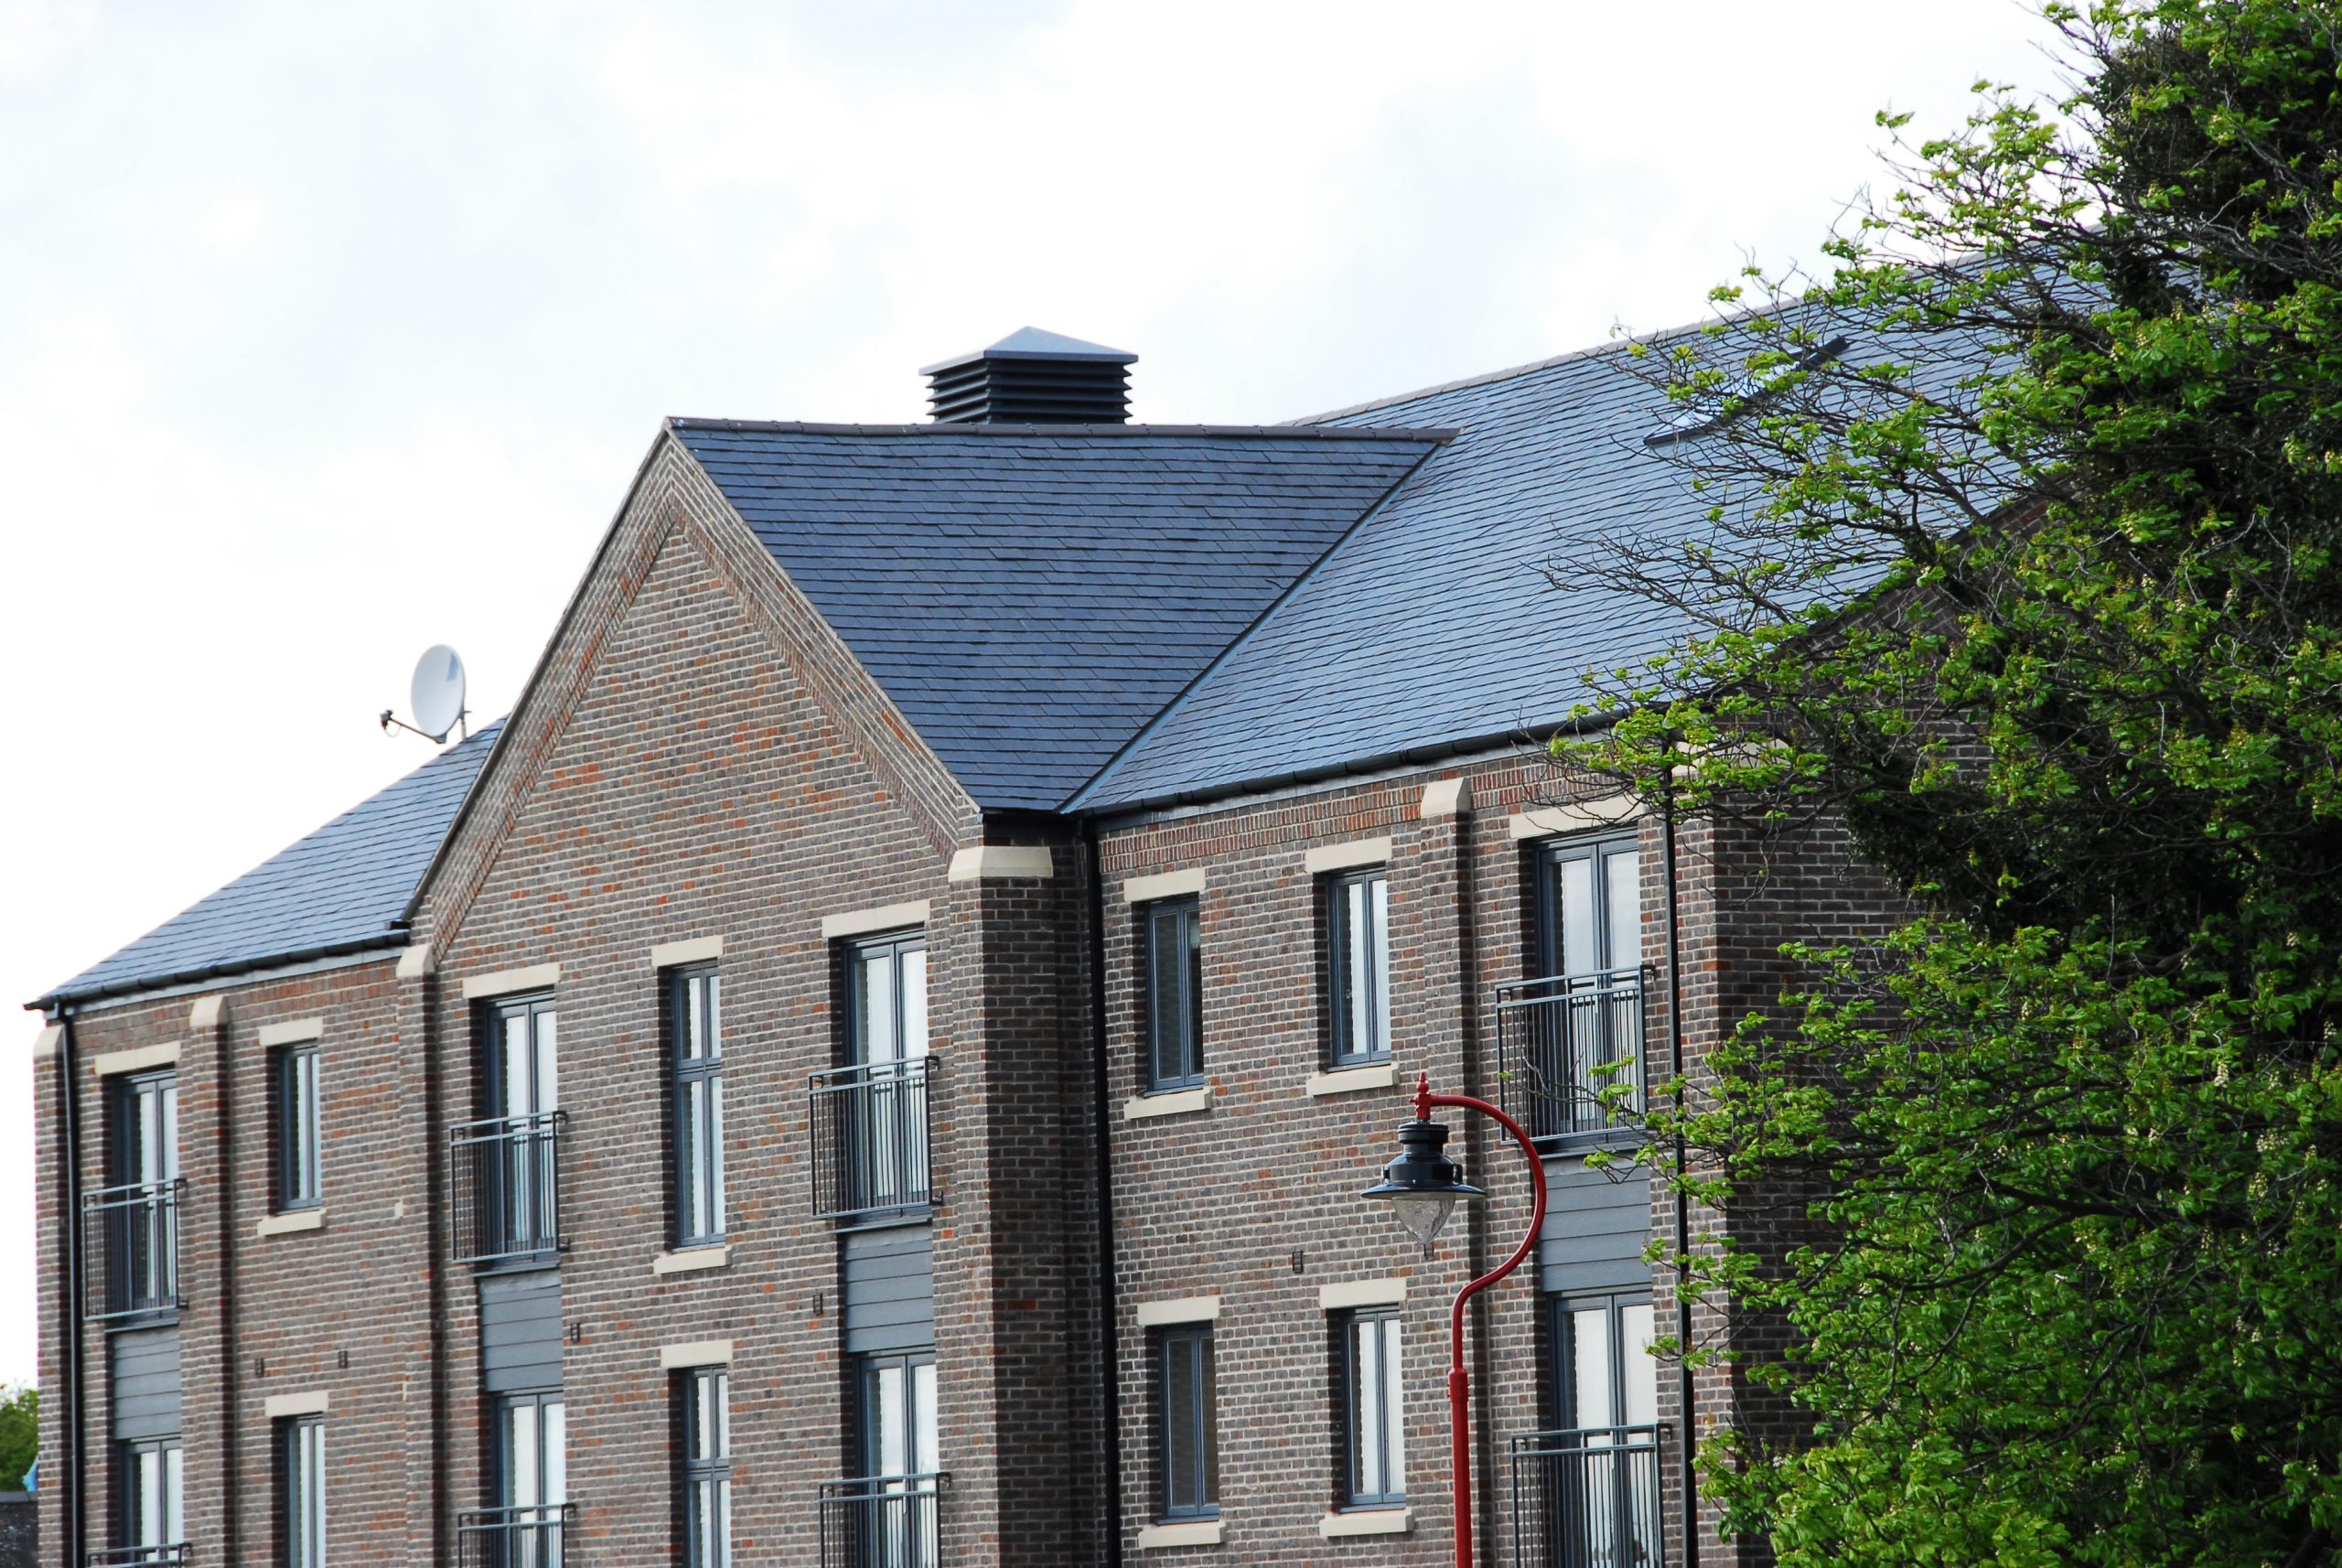
A natural slate roof is one of the most durable and visually distinctive roofing systems available. When correctly and professionally installed it can protect a building for more than a century. Every stage of installing a slate roof contributes to its long-term performance.
At SSQ, we have spent decades supplying premium Spanish slate and Argentinian phyllite for residential, commercial and heritage projects across the UK. Drawing on our technical expertise, this guide explains the key stages of slate roof installation.
Why does choosing the right slate matter?
The quality of the slate you specify has a direct impact on durability, appearance and installation. Around 90% of the world’s architectural slate comes from north-west Spain, where the unique geology produces exceptionally dense, low-porosity stone with excellent weather resistance.
For projects seeking a distinctive appearance, SSQ’s Riverstone phyllite from Argentina offers rich natural colours, fine texture and proven durability for pitched roofing applications. Before specifying any roof slate, always confirm that it has been independently tested to BS EN 12326 and supplied with full UKCA or CE compliance documentation. SSQ’s roofing slate achieves BS EN 12326 S1 certification, representing the highest performance classification for architectural slate.
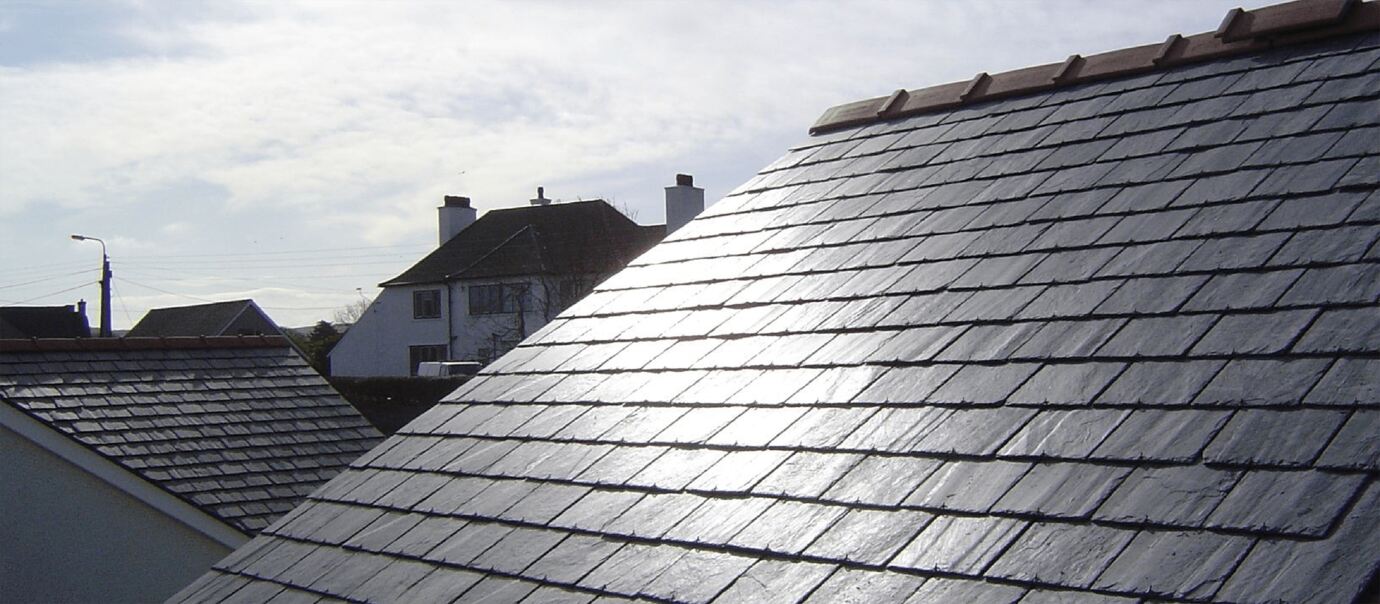
How to slate a roof: start with the roof pitch
Every successful slate roof installation begins with the roof pitch.
The pitch determines the required head lap, the batten gauge and the size of the slate that can be used safely. The head lap is determined by considering the roof pitch, wind uplift, and exposure to driving rain.
In most situations, the minimum roof pitch for slate roofing is 20° from the horizontal, although exposure to driving rain and local wind conditions may require a steeper pitch or greater overlap.
Accurately measuring the roof pitch before installation avoids costly adjustments later in the project and helps ensure the finished roof performs as intended.
Recommended head lap by pitch for moderate exposure (UK) based on a 500x250mm slate
| Roof Pitch | Moderate Exposure (less than 56.5 1/m) |
| 22.5° | 150 |
| 25° | 120 |
| 27.5° | 100 |
| 30° | 80 |
| 35° | 70 |
| 40° | 60 |
| 45° | 55 |
| 80° | 50 |
Values based on BS 5534:2014+A2:2018 guidance and typical 500mm slate lengths. Always confirm with the manufacturer’s specific recommendations.
Prepare the roof structure before slating
Before laying the first slate, inspect the rafters, roof deck and surrounding structure for defects. Damaged timbers, protruding fixings or loose materials can compromise the underlay and reduce the lifespan of the roofing system.
Taking the time to prepare the roof correctly provides a solid foundation for every course of slate that follows.
Preparation should include:
- Inspect the rafters for rot, movement and old nails.
- Remove debris that could puncture the membrane.
- Confirm the roof deck is clean, secure and level.
- Check that gutters and drainage routes are ready before installation begins.
Install the underlay correctly
A breathable underlay provides an additional layer of weather protection beneath the slate roof while helping to manage condensation.
Installation should begin at the eaves, working upwards in horizontal courses. The membrane should project into the gutter so that any moisture passing beneath the slate drains safely away from the roof structure. For reliable performance:
- Secure the underlay using clout nails.
- Pull the membrane taut before fixing.
- Lap each course by at least 100mm, increasing overlaps at joints to 150mm.
- Ensure the underlay complies with BS 5534.
Although slate forms the primary weather barrier, correctly installed underlay provides valuable secondary protection throughout the life of the roof.
Calculate the batten gauge accurately
Correct batten spacing (the gauge) is fundamental to successful slating as it determines the visible portion of each slate. and is calculated using a simple formula:
Gauge = (Slate length − Head lap) ÷ 2. For example, a 500mm slate with a 90mm head lap produces a batten gauge of 205mm
Build a secure eaves course
The eaves course protects one of the roof’s most exposed areas and must provide effective double-lap coverage.
Installation begins with shorter under-eaves slates fixed to the first batten. These should project approximately 50mm beyond the roof edge to encourage rainwater into the centre of the gutter.
The first full course of slate is then installed above the eaves slate, ensuring staggered joints and consistent alignment across the roof. Pay close attention to:
- Correct overhang into the gutter.
- Consistent side gaps of approximately 2–3mm with a maximum gap of 5mm between the slates
- Even positioning across the eaves.
- Accurate alignment with the remaining courses.
Careful detailing at the eaves reduces the likelihood of water ingress and contributes significantly to the longevity of the slate roof.
Fix each slate using recognised best practice
With the roof prepared, installation can begin course by course from the bottom upwards.
Each slate should be fixed using at least two nails. The nails should penetrate the battens by a minimum of 15mm without being driven too tightly. Over-driven nails can weaken the slate around the fixing holes, while insufficient fixing leaves the roof vulnerable to wind uplift.
When laying natural roofing slates:
- Maintain a small gap between adjacent slates.
- Ensure the long edge of the slate remains properly aligned.
- Use slate-and-a-half where necessary around hips and valleys to maintain adequate fixing.
Centre nailing remains the preferred fixing method for most residential and commercial slate roofing projects in the UK because it delivers dependable long-term performance across a wide range of roof pitches.
Finish the ridge, hips and verges with care
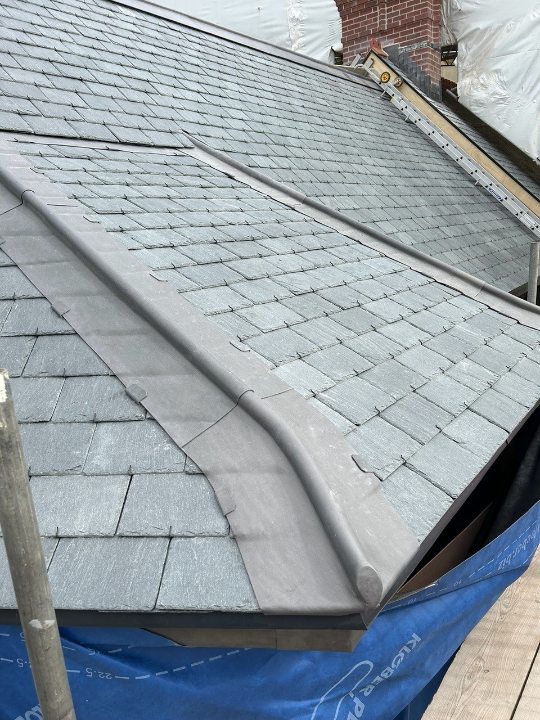
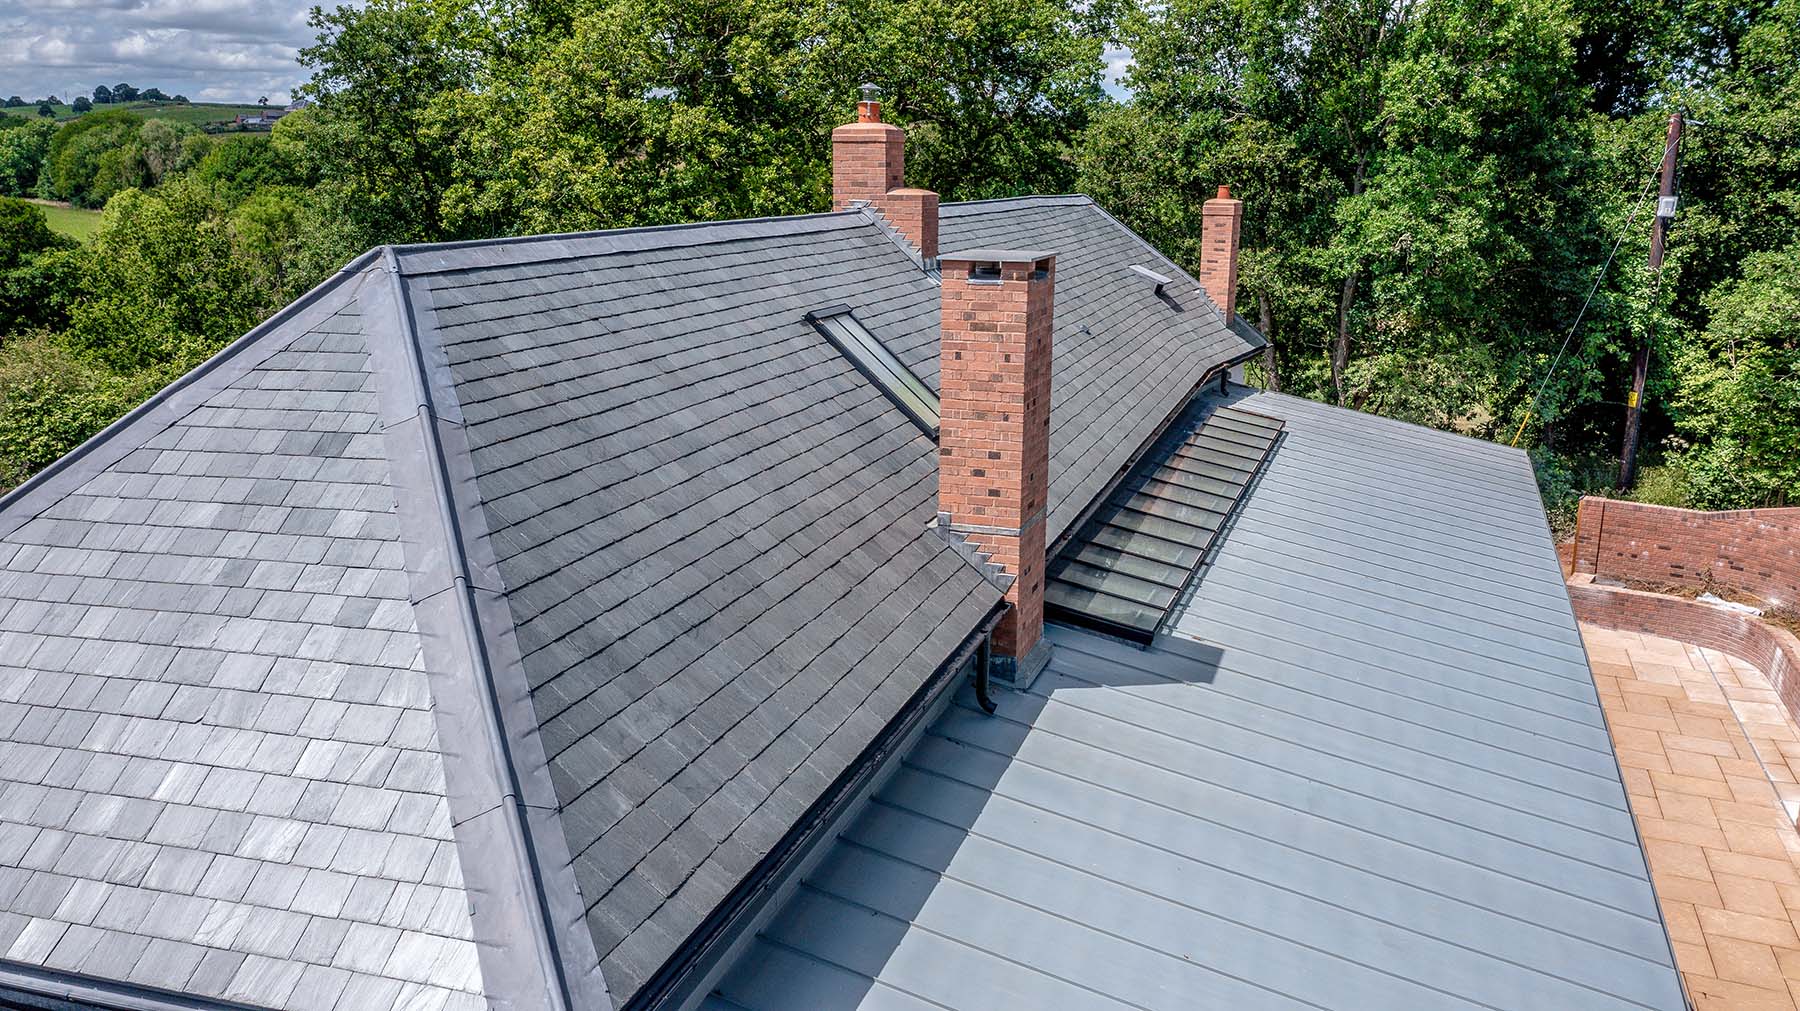
Well-executed ridge, hip and verge details protect the slate roofing system against wind uplift and water penetration while delivering a clean, professional finish. For best results:
- Mechanically fix ridge and hip tiles using self-sealing non-ferrous fixings secured into timber battens.
- Alternatively, use a dry ridge system where appropriate.
- Secure verge slates to reduce the risk of wind damage.
- Install lead flashings in accordance with BS 6915 and treat both sides with patination oil before installation to minimise staining.
Should you choose nailing or hook fixing?
There are two recognised methods of fixing natural roofing slates.
Nailing
Nailing is the most widely used fixing method for slate roofing in the UK.
Each slate is secured using two copper or aluminium nails, which should be between 20mm and 25mm longer than twice the thickness of the slate. This method is suitable for roof pitches above 20° and remains the preferred approach for most residential and commercial projects.
Hook fixing
Hook fixing secures the bottom edge of the slate using stainless steel hooks rather than traditional nail holes.
This method is generally suitable for roof pitches above 25°. Below 30°, hooks should incorporate crimped shanks to reduce capillary action at the perpendicular joints between slates. All perimeter slates should also be nailed in addition to hook fixing.
Selecting the appropriate fixing method should always form part of the roof specification and take account of the roof pitch, exposure and project requirements.
Work to recognised British Standards
Every slate roofing project should comply with the relevant British Standards to protect the building, the installer and the long-term performance of the roof.
The principal standards include:
BS 5534:2014+A2:2018, covering the design, installation and maintenance of slating and tiling.
BS EN 12326, which defines the specification and testing requirements for natural slate.
BS 6915, providing guidance for lead flashings.
BS 1202-2, specifying nails used for roofing applications.
Build your project on proven expertise
Successful slate roof installation relies on more than quality materials. SSQ provides the technical expertise alongside premium natural slate to ensure it is specified and installed in accordance with current British Standards and recognised industry best practice.
Contact the SSQ technical team today to discuss your project, request technical guidance or download the Natural Roofing Slate Design & Fixing Guide to ensure your next slate roof installation is built on proven expertise.